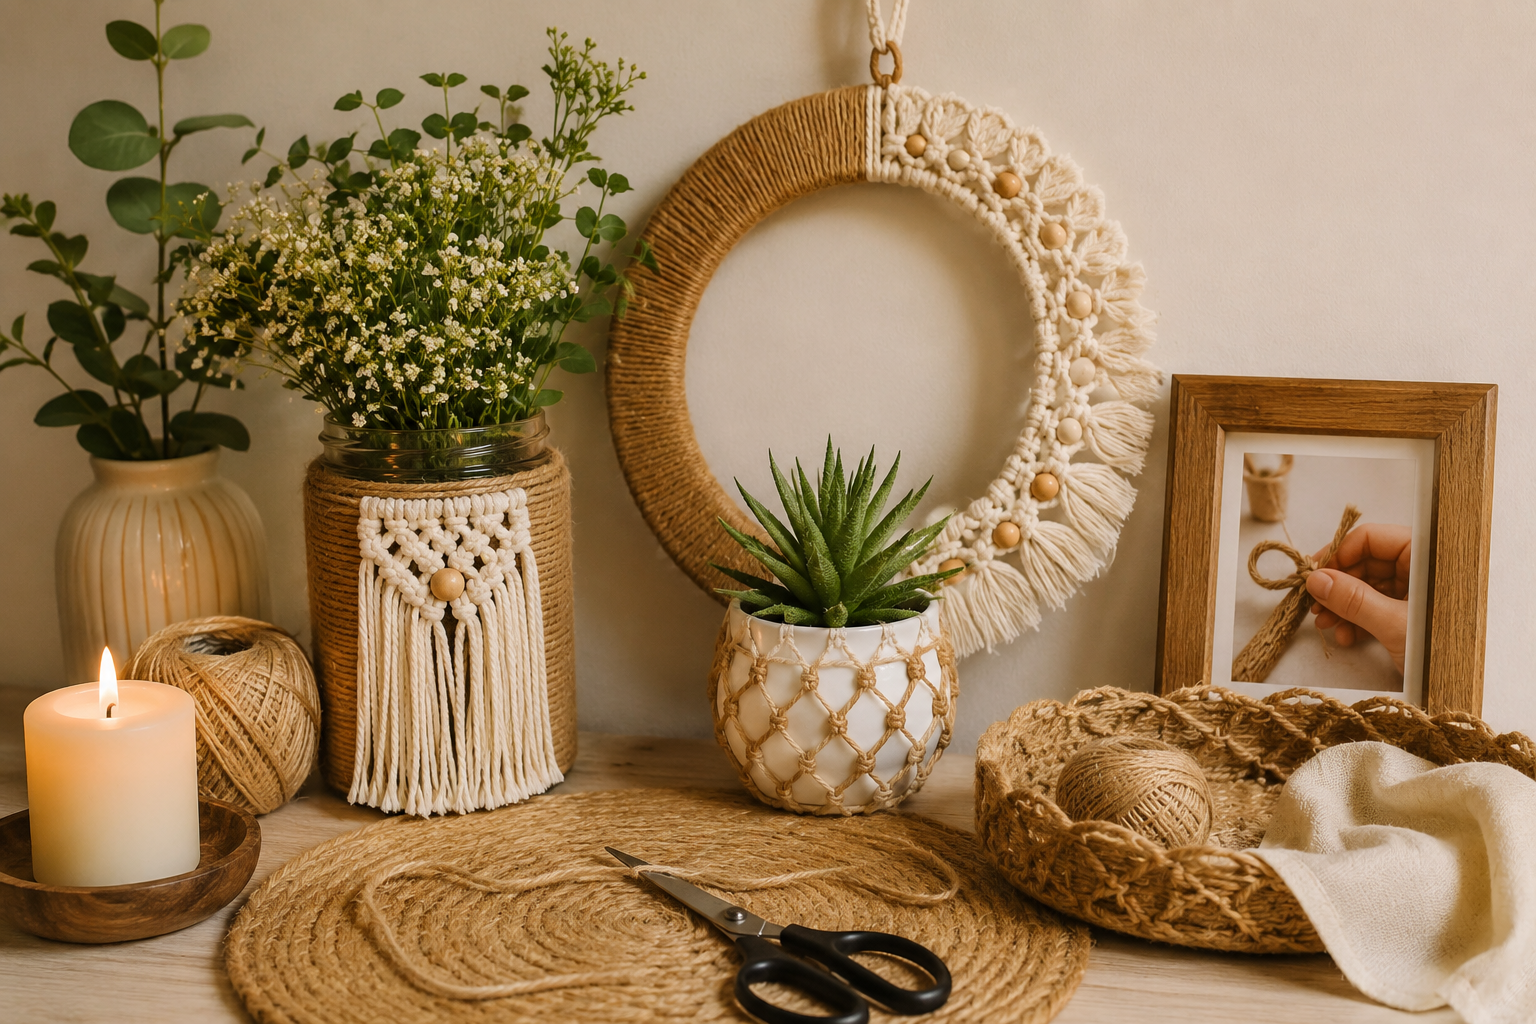
True rustic home decor doesn't come off a conveyor belt; its real magic lies in the subtle imperfections of natural materials shaped by hand. In this comprehensive guide, we demonstrate how everyday craft supplies—unbleached jute rope, reclaimed timber offcuts, and raw terracotta—can be transformed into heirloom-quality display accents that fill your home with organic soul and cozy warmth.
The Charm of Raw, Organic Materials
Rustic aesthetics thrive on tactile contrast. When styling a room, polished drywall and smooth glass can leave a space feeling cold and ungrounded. Incorporating handcrafted textures like rough twine, fibrous burlap, and wire-brushed wood creates immediate visual grounding. The goal is to celebrate organic grain, knots, and slight color variations rather than striving for artificial factory perfection.
Before beginning your projects, curate a cohesive materials palette. Focus on natural wood tones ranging from sun-bleached driftwood to rich walnut, textured fibers like jute and sisal, matte aged metals like blackened iron or antique brass, and botanical greenery like dried wheat stalks and seeded eucalyptus.
Project 1: Hand-Wrapped Jute & Twine Glass Vessels
Empty glass pickle jars, wine carafes, or thrifted cylindrical vases can easily be elevated into high-end rustic centerpieces. Begin by thoroughly washing and degreasing the glass surface with rubbing alcohol. Using a low-temperature hot glue gun, anchor the end of a 6mm twisted jute cord to the base of the vessel.
Carefully wrap the rope upward in tight, uniform coils, applying a small dab of glue every three to four inches. For a modern rustic look, wrap either the bottom third or the middle section of the vase, allowing the clear glass to peek through. Finish the top edge with a clean diagonal cut, securing the tail with a tiny drop of clear glue tucked beneath the adjacent coil. Fill the completed vessel with dried bunny tails, pampas grass, or botanical clippings for an effortless mantle statement.
Project 2: Floating Reclaimed Timber Shelves with Leather Straps
Few DIY projects deliver more immediate architectural impact than open timber shelving supported by rich leather straps. Siphon offcuts of 1-inch thick cedar, pine, or reclaimed barn wood, cut to 24 or 30 inches in length. Sand the faces smooth with 150-grit sandpaper, softening the sharp edges to give the wood a gentle, weathered silhouette.
Apply a coat of natural beeswax or a warm provincial wood stain to seal the grain without creating a glossy plastic sheen. For the hanging straps, cut two 32-inch strips from 1.5-inch wide vegetable-tanned leather belt blanking. Fold each strap into an elongated loop around the wood shelf, pre-drill through both leather ends, and anchor them into wall studs using heavy-duty antique brass lag screws and decorative washers.
Weathered Terracotta Aging & Greenery Styling
Brand-new orange terracotta pots can look jarringly synthetic. To give them an authentic vintage European greenhouse patina in under an hour, combine equal parts white chalk paint, garden potting soil, and water to create an earthy slurry. Brush this mixture haphazardly over the pot exterior, then use a damp sea sponge and a piece of coarse sandpaper to buff away high spots.
The resulting mineral bloom mimics decades of moisture and natural moss accumulation. Plant trailing English ivy, string of pearls, or silver dollar eucalyptus in your aged pots, resting them atop small wooden plant stands or stacking them across your newly mounted leather-strap shelving.